“D” ring picture hangers got you down? Here’s a trick to help you hang them right up!
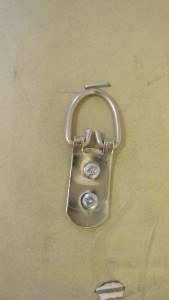 I don’t know about you, but I hate those “D” ring type picture hangers, especially when working alone.
I’ll share the same trick with you on how to hang artwork with “D” ring type hangers.
Here’s what you’ll need:
- Level
- Painter’s tape (the blue stuff that won’t stick to paint)
- Hammer
- Nails
- Patience
Step 1.
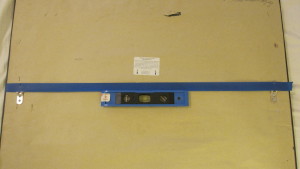
Turn framed artwork over on safe surface and apply one piece of painter’s tape the entire length of picture over “D” Ring hangers. I try and get it close to the top of the ring.
Step 2.
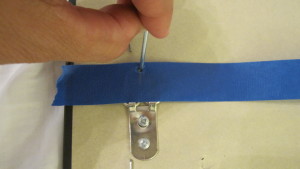
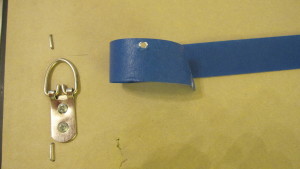
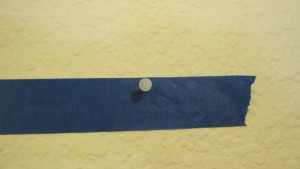
Try to keep the tape straight, use a level if necessary but it’s not mandatory at this point, and punch small holes at the top of the “D” ring through the tape. These will eventually be your “hook placement” to hang the picture, you’ll see how.
Step 3.
Remove the tape from the back of artwork and tape will now become the “guide” for you to hang your art, not the art itself. Of course before this you want to have an idea of where you want the art to go and at what level so you may want to mark the edges of the frame of your art on the wall as a guide for height and centering.
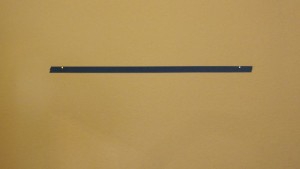
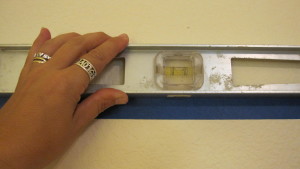
Take the tape and adhere it to the wall where you’d like to hang the artwork. As straight as possible adhere the tape to the spot. Using your level on the tape now as your “guide” move the level over the tape and level off the blue painter’s tape. Re position the tape as necessary to make sure it’s level.
Don’t worry about the placement of the holes for the hanging, focus on using the tape as your guide and getting it straight, the holes are already marked in the proper place since you punched them in Step 2.
Step 4.
Once your tape is level you may now nail your picture hanger in the hole. If the artwork is especially heavy make sure you secure it with the proper brackets and mounts. For lighter weight artwork (under 25 lbs) the “monkey ring”type hangers work well with this as do any other hanger, just make sure your nails go into the holes you created previously in Step 2.
Step 5.
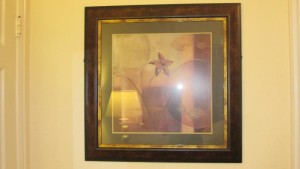
Remove the tape and hang your picture. Check with your level again if you’re not sure. (You may want to even keep the tape on the back of your artwork for future use). I hung this picture by myself using the method outlined here.
More useful information to share regarding “D” rings:
- As far as why the D rings are not used with wire (as the labels sometimes suggest) I was told by a professional framer that the weight of some art and mirrors can actually pull the D rings out (if wire is used) since most are NOT too deeply screwed down securely. If using this technique 2 wall brackets or hooks are suggested. Many of the pieces aren’t too heavy with these rings – however the size of them can cause the art to shift on the wall easily.
- If your art isn’t too heavy and you want to use wire, make sure it is properly “tied” and the proper gauge of wire. I have had wire slowly unravel from the weight of some pictures when I”ve used this technique before
- As some have mentioned the D rings aren’t always level themselves so you may also have to remove one and reposition it on the frame yourself – I’ve done this too.
- For groupings, the D-rings (on the back of the art) aren’t always placed accurately or in a straight line, so you may have to play with the alignment or re position the rings in the right place yourself. Also if you have two pieces of art typically called “sister” art, each one may have their D-rings placed differently, don’t assume they are placed on the exact same spot for each piece of art. These are often mass produced and the placement of these can be way off. Check before you hang!
- You can always take your art to a professional and have them properly place the correct hanging hardware on it. It’s a minimal investment and can save you headaches and time in the long run.
Hope it helps you too! Good luck!

